
This is part 4 of the NES-top build. If you have not yet read about it, you can start by clicking here.
The motherboard has arrived so now I can prepare the NES housing. First thing is to see where the motherboard can sit and chop all the plastic risers and anything else in the way. The only way I could chop them with my hacksaw was to chop the back out first. This makes way for the motherboard port plate too.


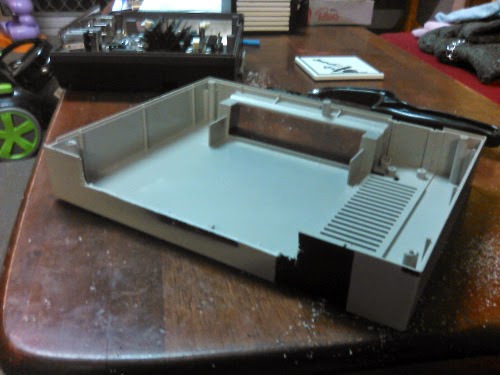

Now the motherboard is in place I have found my next obstacle. The front switches no longer fit in their place.


These are small switches that do the same thing. Gluing the original front of the button to these will cut down the space needed.
On another note, some of the parts I placed on Ebay have sold bringing my total cost down a little.

PRICE: $25.81
TOTAL CURRENT PRICE OF BUILD: $239.17
So that's it for now. The power supply has been ordered from mini-box.com.au and I am heading into the city on Friday. I should be able to pick up the hard drive, blu-ray drive and ram.
Until then... stay geeky
Read the next part right here
SighFye
No comments:
Post a Comment